Friday, July 1, 2016

What's inside these magical TBS Triumph antennas?

I haven't purchased any of these yet but plan on it!  I've read only wonderful things about these and they are popping up everywhere.  So what's up with them?  I was curious and luckily had a friend split one in half coming too close to a soccer goal post.  The foam appears to be similar to the expanding foam used to seal cracks but I don't know.  This antennas lost a few of the 45 degree pieces but here it is!

As I pulled this thing apart I began to realize it's not just another clover leaf.  In fact it appears to follow the pattern of a product I found on http://antennaproducts.com/product/dpr-4a/

The copper traces running from the stem to the wire pieces sticking up are really thin and I had 3 of them break while poking at it.  I don't think this matters too much because these cases are really tough and the foam holds it all in place.

If you haven't tested these out give them a go!  Support IBCrazy and the TBS crew.


Monday, June 13, 2016

Quick tip: Stopping wobble and vibration on HS1177

I was having an issue with my fpv video getting really wobbly when I was at >50% throttle.  I went over my quad multiple times trying to figure out what was causing the vibration.  The camera seemed fine, all the motors were balanced, and I even tried new props multiple times.

It turns out the HS1177 board doesn't always sit nice and snug.  I've heard of people putting all sorts of thin object to get the slop out and stop vibration.  Here is what I did

After that I just sandwiched it all in there and no more vibration!  I should probably cut down the foam a little so I don't cover up the vent holes on the back.

Friday, June 10, 2016

XT60 quick tip: Secure that connection

On two separate occasions I've had an xt60 connection come lose because of vibration or a little rough action.  Both times it resulted in my quad plummeting from the sky and me hoping it wasn't pulverized.  I found a good tip on rcgroups that mentioned putting small bits of wire in the middle of your xt60 pins.  I've done this for awhile and it's worked perfectly!

Please excuse the quality of the photos.  My phone doesn't take great macro shots.

Steps: Take small pliers and slightly pry apart the pins.  Be gentle because I've broken a few.  Maybe they were cheap but I'm extra careful now.  I use 20 AWG stranded wire or whatever I have laying around that is a snug fit.  I cut it to a lengh of about 3mm then push it down into the center of the pins.  Make sure no thin wires are poking out and everything is clean.


Friday, June 3, 2016

KISS FC Initial thoughts

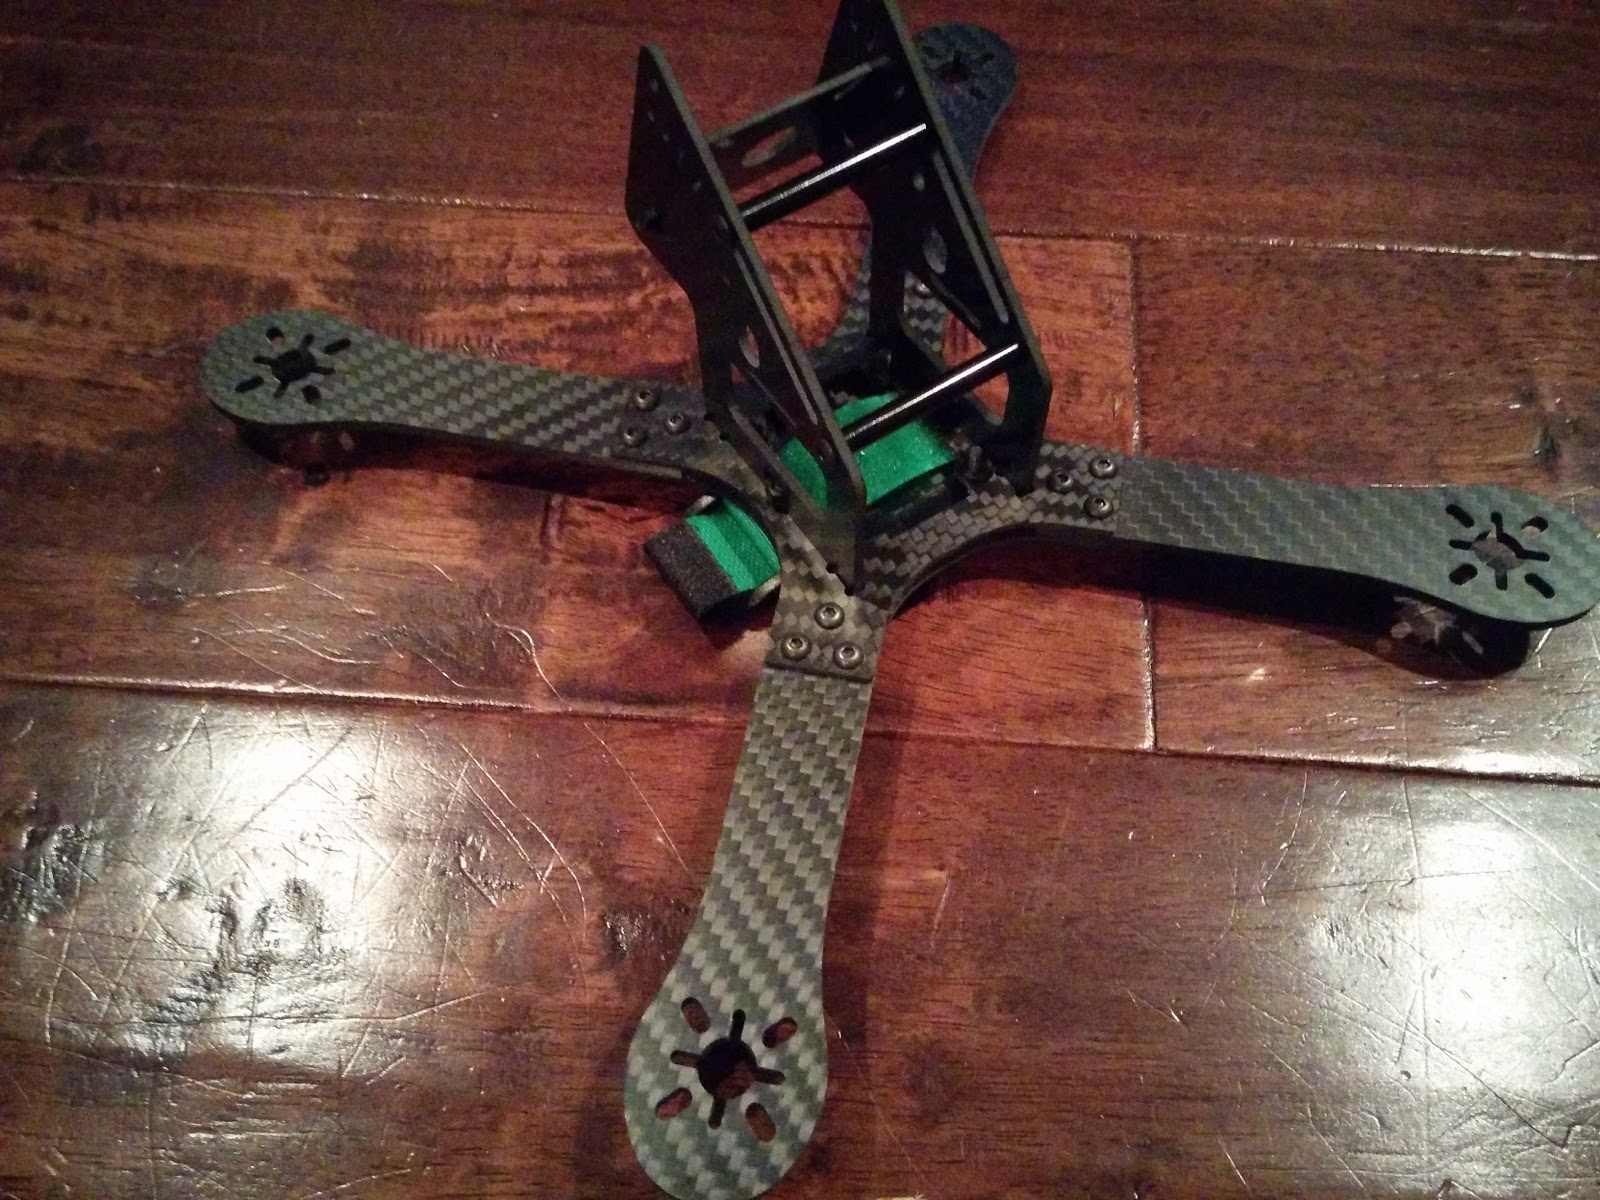
I finally wanted to know what all the fuss about the Kiss FC was so I decided to get one from the Rotor Riot store.  I put it on my martial 5" frame with xm20 escs running BLHeli 14.6.  I haven't taken it out for a test flight yet but I wanted to provide a brief write-up about what I've liked and disliked.

Hardware and prep
This was extremely easy.  I oped to solder everything to the board and the layout was simple and clean.  Because this board accepts 2-6s directly I didn't have to worry about a bec of any kind.  I simply soldered a wire from my PDB to the VIN input on the kiss fc.  All the solder pads are large enough to easily solder your wires to and tinning them was not a problem.  I had to put mine in with a 180degree yaw and the kiss fc gui supports this option.

Another awesome feature is that when your kissfc is plugged in via usb it will power up your receiver!  That makes things really convenient for initial setup!

Overall I was really impressed with the board layout and easy of soldering.

Software
Coming from betaflight I was really surprised at how few options you have.  This is both good and bad depending on your personality.  If you really like to tweak each and every aspect then you may not enjoy the kiss fc firmware but Boris and felix may be working on a betaflight port if that's your thing.

I'm getting to the point where I just want things to fly smoothly without too much configuring so the Kiss fc gui was enough for me, mostly.

I would love to see a motors tab where I could easily calibrate my escs and test motor direction.  It would also be really nice having a 3d image of your quad so you can test if tiling forward actually tilts forward and something isn't reversed.

I'm using BLHeli on my escs and Kiss doesn't support passthrough so if I want to upgrade my escs I'll have to remove the solder, upgrade them, then solder it all back together.  This probably isn't worth it and if I don't have issues I'll most likely stick with BLHeli 14.6 for awhile.

Overall
I'm pretty impressed with the board so far but am not yet sure if it's worth double the price you would typically pay for a spracingf3 board from banggood or x-racer from fpvmodel.  Not having to supply 5v power means no bec so that is some savings but not much.  I'm sure I'll provide a follow up review after a few flying sessions and hopefully some video footage.

Tuesday, May 31, 2016

Does better gear help?

It's been awhile since I've had the motivation or really any reason for posting content.   I haven't gotten to fly as much as I like but have been doing a lot of building/fixing.

I've been in this terrible circle of flying and fixing.  Though hti sis normal I've been doing a lot more fixing than I think I should be.  I'm starting to wonder if this is because I buy the cheapest parts.  I really don't trust my equipment and want to be able to.

I have currently have two machines that that use spracingf3s, little bees or xm20s, different motors, and different frames.  For the most part both of them fly beautifully and then out of nowhere they freak out and crash into the ground.  I think I tracked one down to a cold solder joint on an esc.  It must have been rebooting after enough vibration.  It caused the krieger to have a nasty spill and so I put all the gear on the qav210 instead.

The martian (alien clone) has been pretty good to me but the camera mount is awful.  I'm attempting to rig something up similar to the official alien but haven't tested it yet.  I was also having issues with this one and I'm thinking they were desync issues with blheli 14.5.  I upgraded to 14.6 and things got better but aren't perfect.

I'm really curious if people have similar experiences with better gear.  I decided to test it out and have some emax red bottoms, xm20s, and now a kissfc on the martian.  I'm going to direct solder everything and take my time.  I'm considering selling my backup quad and using all kiss equipment and a setup similar to the rotor riot crew.

I'll post as soon as I can with a breakdown on if spending a little extra helps.

What I can say is that the cheaper motors I've purchased (readytosky 2204 2300 and le todar 2204 2300s) aren't very good.  I'm comparing them to cobras and the emax red bottoms.  After many crashes the more expensive emax and cobras are just fine.  I haven't had a bent bell or shaft or anything.  The readytoskys had a bent bell and shaft after one very minor crash.  The le todars are really rough and one of them is twitching.  So even though these cheaper ones are half the price I think the more expensive ones are definitely worth the extra cost.

Friday, April 8, 2016

Martian 5" (Alien clone) review

I crashed my LS210, purchased another, fixed it all up, then had a short and caused a little smoke. Luckily I saw this martian and decided to give it a go and put in an order awhile ago.  I purchased this alien clone from goodluckbuys and it took about 2 weeks to get it.

I have a video in preparation where I give a walkthrough of the frame but wanted to post here about some of the issues I've run into.

Even though this frame looks almost identical to the true alien the dimensions are not the same.  The true alien has has proportions of length/width = 3/4 while this clone is 4/5.  Soma went into justification for this approach on the Alien RcGroups post.

The metal screw going through the pdb and arms are too close to the esc pads and I had to put a little piece of washer there.  In this picture I had to create some rubber washers because what I had laying around was too thick.  This is just some heat shrink cut to size.  I still need to clean it up but it's easy to see here

A HS1177 camera doesn't have a nice snug fit and there is an 1/8th inch gap on either side of the camera when centered.  If the gap wasn't there it would be perfect.  Another issue I've come across many times is the provided static camera angle mount has a hole that is too large.  The HS1177 slides right through it so it would required additional hardware (large washer) to mount the camera to it.

So far it's been a pretty easy build with enough room to put all the wiring and extras (LC filter and bec).  I was planning on having a maiden flight today but with the camera issue I'll need to find some longer screws and washers to snug the camera in.

For only $40 I'm sure it will be a fun frame to fly but you get what you pay for.  The carbon fiber came scratched in a few spots, there was leftover carbon dust from tooling, and a really popular camera doesn't fit like I think it should.

UPDATE (6-14-16) - The PDB is pretty crappy.  I was having issues with my ESCs restarting and went through all sorts of things trying to find out what was wrong.  This included removing the XT60 connector and putting a new one on.  In this process I removed liquid electrical tape from the surface and it peeled up lots of the red mask around the xt60 connector.  Removing the connector also caused some heat damage to the board.  It will have to be replaced.  They are about $2.50 each on goodluckbuy but one more thing that really makes the true alien shine.

YouTube review

Monday, March 28, 2016

Brushless motor test update and rambling

I finally updated my brushless motor test results with everything I have.  The main goals of this exercise were to have fun, see if there was a significant difference between motors, and see if there was somewhat of a trend between different props on the same motor.  I wanted to be able to test one basic propeller and be able to estimate how much thrust other propellers would generate without testing them.  My tests aren't nearly as thorough or precise as http://www.miniquadtestbench.com/ but for what I want to know I think they will suffice.


Taking a quick peak at a very basic graph shows that this might be possible.  Generally speaking, all the motors (besides YKS) followed the same general trend.  What really surprised me was the difference in thrust provided by the 2206 2100 motor vs all the 2204 2300 motors.  I thought that the same prop, given a higher kv, would produce more thrust on the higher kv motor.  In my results I saw that a Cobra 2206 2100kv produced more thrust than any of the 2204 2300kv motors with the same prop but pulled a little more amps.  Who can explain that one to me?  Maybe it was a fluke?  The Tmotor 2206 2000kv motor produced results that were slightly less than the 2204 2300kv motors but also pulled fewer amps.

Monday, March 21, 2016

It's been awhile

I've been way too busy with work and family to give this blog anytime.  I had the opportunity to go out to Palm Springs, CA and fly with my brother!  I even posted a video on youtube but it's really noisy.  Eh, it's a test for more to come.  That was my last successful outing before everything fell apart.  As you'll see in the images below I had a bit of a rough day.  I lost power on the 210 and dove into the pavement breaking the top plate then immediately after I smacked something with the 6" Kriger clone and tore the video pads right off the pdb.

That's some really thin carbon with a very obvious weak point on top of the Lisam210.  I really like the frame so I already purchased a replacement but I'm considering beefing the area broken area up a bit with some epoxy and old carbon fiber frames.  Maybe an official QAV210 top plate would fit.  They are only $13.


I've been slowly updating motor tests so keep your eye on that.


Friday, February 5, 2016

Krieger clone build

I started the Krieger clone build and so far I'm really liking the style of it.  Here are some shots from different angles.  If you notice the power distribution board would sit between the side plates.  This posed a problem for me because I'll be running power to my camera and vtx from pins sticking out the sides.  Therefore I had to put in some extra tall standoffs to clear the frame.  Luckily my receiver fit right in that spot.

Motors: Cobra 2204 1960Kv
ESC: SN20 w/BLHeli 14.3
Props: KingKong 6040
FC: CC3D
Firmware: Betaflight (latest)
PDB: Matek mini pdb w/ 5v and 12v BEC
Receiver: Generic Frsky 8CH with PPM output
vTX: ts5823

I've noticed that the Matek pdb doesn't have a filter on the video pass through.  When I nail the throttle my video gets pretty full of static.  I'll have to add a filter or use an OSD with built in filter.


All solder but not cleaned up yet


There motors/escs were pulled off the old nighthawk, flashed with BLHeli 14.3 and solder to the PDB


All the electronics soldered together and ready to go onto the frame

Electronics installed.  I have some wires sticking out the side because of how I setup the pins on the PDB

A closeup of the front.  I believe I have a 2.8mm lens on this.  6" Kingkong props

A little messy with all the extra wires but I typically leave them until I'm done testing.
Ready to go to the field!  The all up weight of the Krieger with a 4s 1800mah battery and no xiaomi yi was around 530g


Thursday, January 21, 2016

Update for the new year!

I've been extremely busy the past few weeks and my typical testing and posting time has been eaten up by other projects.  Here is what is in the hopper!


  • 15 motors have been tested and I just need to transfer the data from my camera to the spreadsheet.  Lots of data incoming!
  • My LS210 (QAV210 clone) is all done and I've had some successful flights with it.  I'll post some pictures of my new setup.
  • Since I crashed my Nighthawk due to a battery connection vibrating free I've ordered a new frame (Krieger clone) and just got that in last night.  I'll be working on that over the next week.
  • I've also found a way to make my battery connection more secure so I'll post a few pictures of that.


GE-FPV GE-X240 (Krieger clone) unboxing


LS 210 (QAV 210 Clone) initial setup